Nowadays there are several ways to finish floors. Most often there are bulk floors, a decoration of the cafeter and laying of porcelain stoneware. It is less likely to find wooden floors, because such material is not suitable for all rooms. But still the most durable coating is porcelain stoneware. What does it differ from the tile, what are the advantages of such a finish and how to lay a porcelain stoneware, do it yourself, you will learn from this article.
Advantages of ceramographic
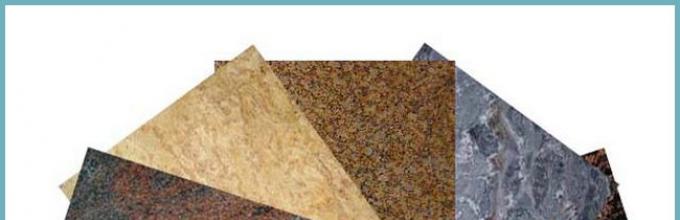
Thanks to its qualities, porcelain stoneware is used not only with internal, but also with outdoor decoration. The advantages of undoubted alar stoneware include:
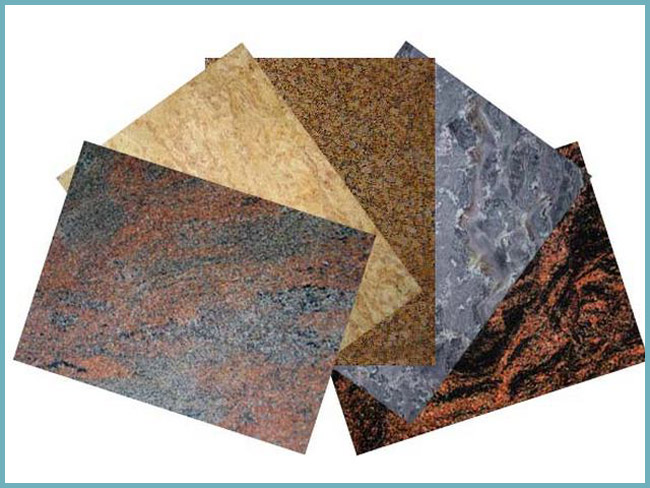
Porcelain stoneware - reliable and durable material with high decorative properties
- resistance to high and low temperatures;
- durability;
- large selection of forms and colors.
How to choose a coating
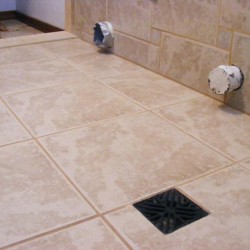
The floor is the basis of any room, because the choice of coating is needed carefully. Features of the coverage depends on which room you will perform laying of porcelain stoneware. For example, the floor in the hallway should be moisture-repellent and resistant to chemical impacts, while for the kitchen, the main criterion will be wispiness and immunity to frequent temperature differences. The floors in the bathroom must be made of non-slip coating, and in the living room - they are simply obliged to have an executive view.
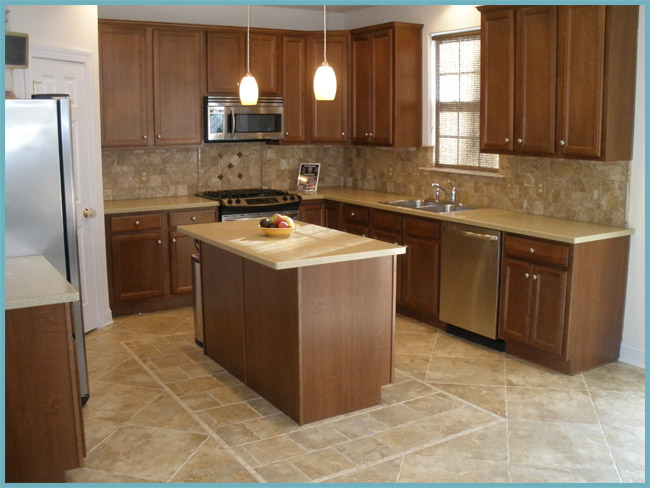
Porcelain stoneware in the kitchen
It should be noted that the porcelain stoneware is suitable in each of the above cases. In addition, it can be applied to cladding floors in garages, workshops and boiler rooms. For such premises, matte grungy porcelain stonewares often use, which has increased strength and minimal slip.
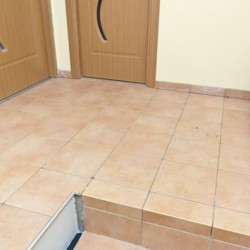
Floor preparation
The first thing you have to do is to prepare the floor. Porcelain stoneware is quite demanding for the base, so it is necessary to approach this stage responsibly. The surface must be smooth, smooth and clean. A good option will be the fill with self-leveling mixture.
Council. If you for some reason, we decided to lay styling on top of the old tile, it is necessary to carry out degreasing caustic soda.
The surface before laying must be treated with a primer and give it to dry. Since the porcelain stoneware does not absorb moisture - the laying should be carried out on a completely dry surface.
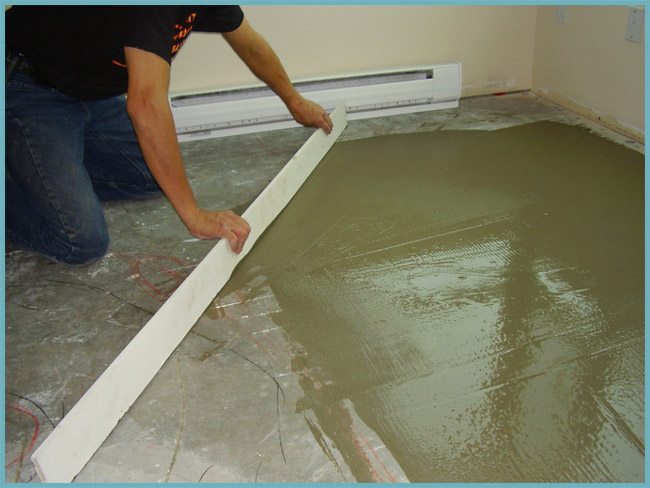
Before laying a porcelain stoneware, thoroughly align the surface of the floor
In the event that you install a warm floor, after installing it, you need to warm it up and disable it. The next time you can turn on the floor only after complete drying of the glue, and this is about two weeks.
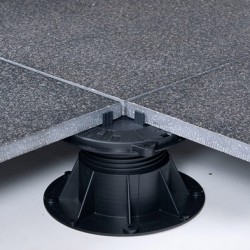
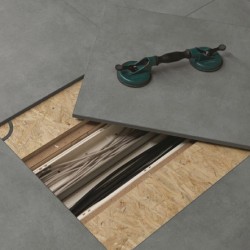
If laying of porcelain stoneware will be produced on a wooden floor, then it is necessary to purchase a special substrate that prevents the effects of expansion and narrowing the wooden basis. Without a substrate, there is a high probability of damage and cracks. In addition, when laying on a wooden base, it is best to use elastic one-component adhesives.
But a concrete screed will be the best base option. It should be smooth, clean and dry.
Council. When laying a porcelain stoneward on plasterboard, it should be primed, thereby reducing the absorption indicator of moisture.
Plate laying
Before laying plates, make sure that you have the entire tool and components. In addition to the tile itself you need a spatula and cross. The size of the spatula teeth depends on the size of the tile. The more tile - the more the teeth. Crossings are needed to strengthen the seams. The sizes of the cross are also different.
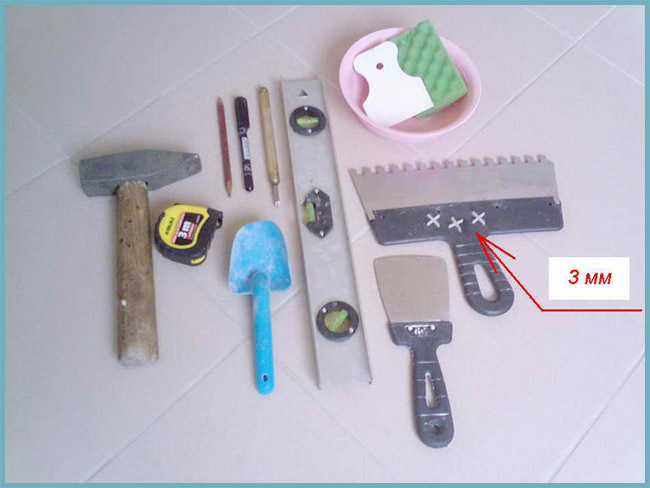
Tools for laying a porcelain stoneware on the floor
Before laying, you need to decide on the scheme. In addition to the classic longitudinal laying of the tile there are still many options, of which everyone can choose preferred for themselves.
When you decide exactly how your floor looks like, you can start a markup. To do this, you need to determine the middle. If you start the layout of the tile from the middle - you will get the most aesthetic and symmetrical type of floor.
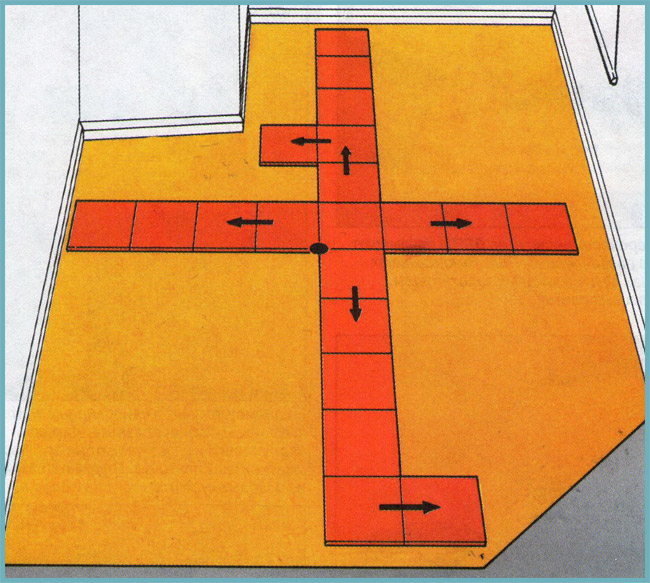
Scheme: Laying Tiles from the middle of the room
After the markup is applied, you can proceed to the direct laying of the tile. The main rule is the use of specialized glue. It is impossible to use the usual glue for tile, because the porcelain stoneware is characterized by a lot of weight and does not absorb moisture.
The back of the tile must be cleaned and prepare glue, clearly holding the manufacturer's manual. Hold the necessary time and proceed to apply glue to the floor surface. As a rule, the glue layer is 4-5 mm. Apply adhesive uniformly and in one direction. With uneven application of glue under the plates, emptiness may form, which can further cause damage.
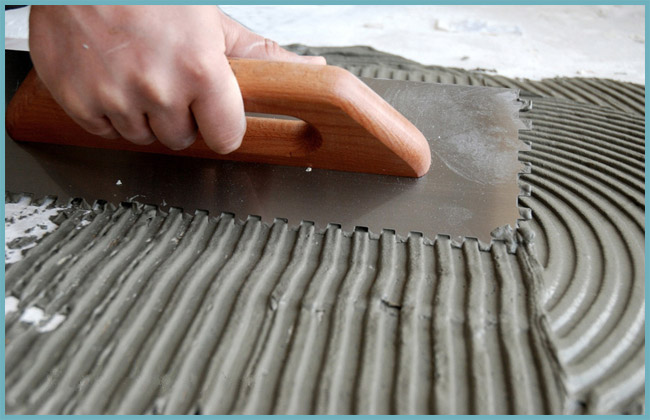
Application of glue
On small tiles, as a rule, the glue is not applied, only on the base of the floor. In the case of a large tile, experts advise the glue and on the back side of the plate. This will increase the tensile strength, but also entail an increase in glue consumption.
The glue is applied in turn for each tile. The first tile put on the edge on the markup and gently laid on the glue. To align the large tiles, it is necessary to use a rubber image and level. After the first tile lay smoothly, glue for the second tile and repeat all the actions first. Regarding each other, the tiles are aligned with suture crosses.
Possible mistakes
As we have already figured out the tile, but sometimes there are some questions in the laying process.
It is possible to smooth the tile after laying within 10, a maximum of 15 minutes. After this time, the glue will begin to capture and the offset can adversely affect the tile grip.
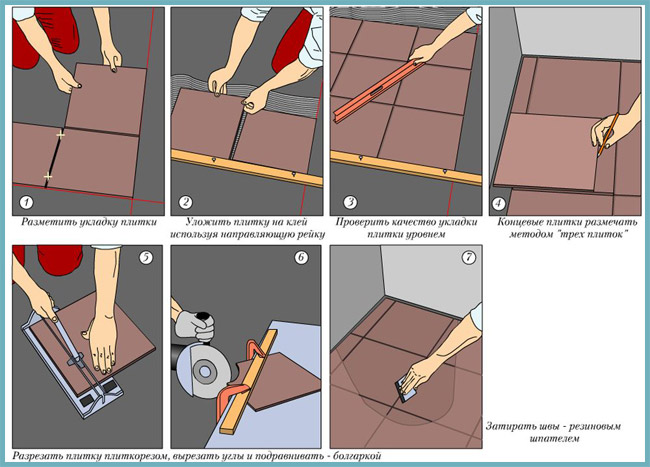
Scheme: Step-by-step instructions for laying a porcelain stoneware on the floor
During the stacking, it will be inevitable to take breaks, so it is worth it in mind that the tile, laid an hour ago, will be slightly lower. This is a natural shrinkage. It usually does not exceed 1 mm, but it can be noticed. Therefore, when laying new tiles after a break, remember that if you align a new tile with old, without taking into account this nuance, then after shrinkage you can get a small gap.
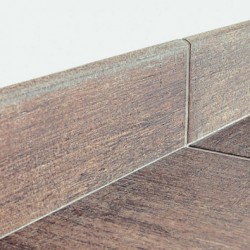
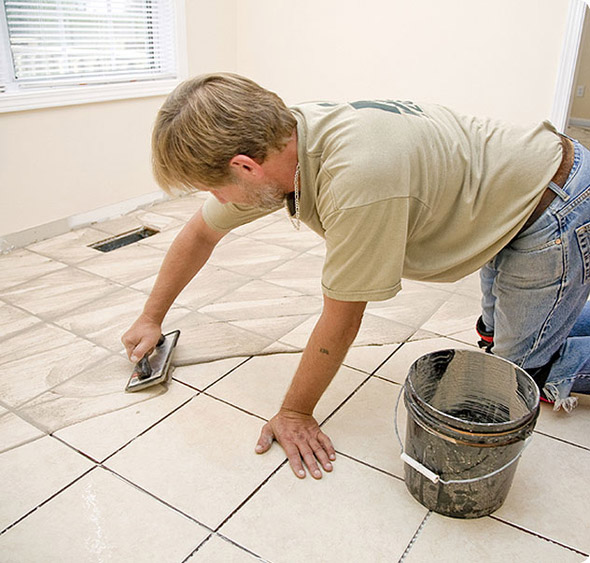
Shutkish seams
After your tile is dried (usually leaves from two days to two weeks) you can start the final stage - the grout of the seams. Make sure that the adhesive solution is finally frozen, and clean the seams from glue and dirt residues. If the floor is large area, it is better to conditionally divide the space into several parts.
Shutkish seams
You can buy the grout in the store. The grouts are of different colors and have different qualities, such as consistency in household chemicals, moisture resistance, and so on. Pay attention to this when choosing.
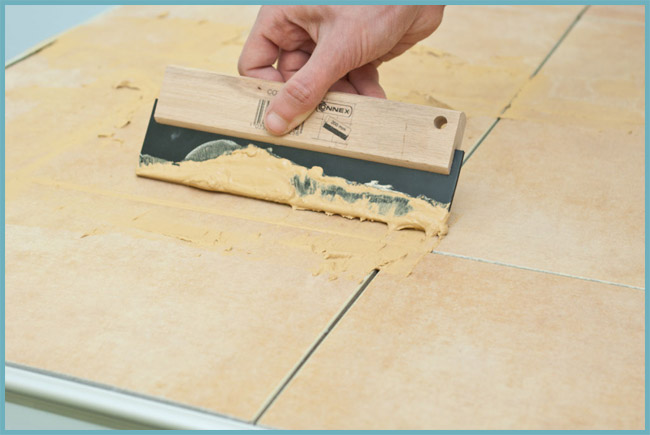
The mixture is applied by a special grater diagonally. Do not use metal spatula for grouting - it can spoil the appearance of your tiles. After the end of the grout immediately remove the remains with a damp cloth.
Selection of glue
Quality glue is produced on a cement basis with the addition of synthetic resins, polymer additives and the necessary mineral plasticizers. Nowadays, asbestos and other substances are no longer added to the glue, which are harmful to health, because glue for porcelain stoneware is environmentally safe.
For high efficiency, glue must have a sufficient degree of adhesion (clutch strength).
The larger and thicker your tile is, the higher the fastening properties of the purchased glue should be.
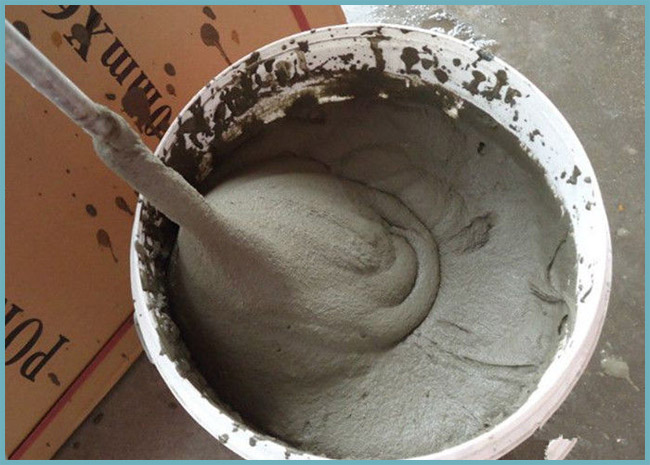
Preparing glue for porcelain
Another criterion to pay attention to when choosing glue is resistance to temperature differences. This is especially true when laying the tile will be carried out in rooms without constant heating. It is possible to determine the frost resistance in numbers next to the Latin letter F. The larger the numbers, the higher the frost resistance. Two-component adhesives are considered more resistant to temperature differences.
Also pay attention to the lifetime of the adhesive composition, because this is the time for which you need to put the tile after cooking glue.
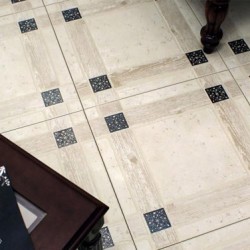
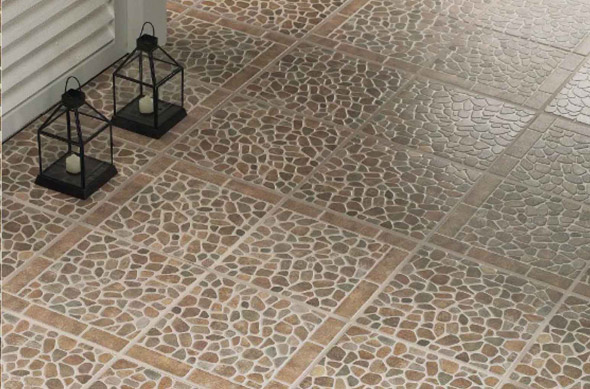
Porcelain tile has many colors and sizes. Using the tile of various sizes and shades, you can create intricate patterns that will give your semi individuality and uniqueness. In the following schemes, you can combine both the tiles of one color and use different shades. But there are some subtleties that you need to know:
- the size of the tile has an impact on the visual estimate of the room: a large tile visually reduces the area, it increases small;
- to "expand" the placement of the tile best spaced across, the tile, posted along, visually extends the room;
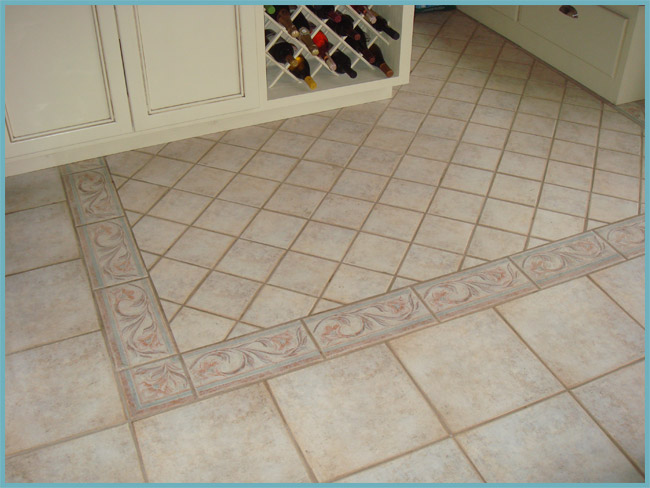
Pattern of porcelain stoneware on the floor
- the use of through drawing will help combine different areas of the room in one unit;
- the use of a single figure is suitable for distinguishing areas of the room;
- paul performed in light tones visually will increase the room.
Attention. If the tile is laid out at an angle of 45 °, its face should be parallel to the diagonal of the room.
What to cut a ceramographic
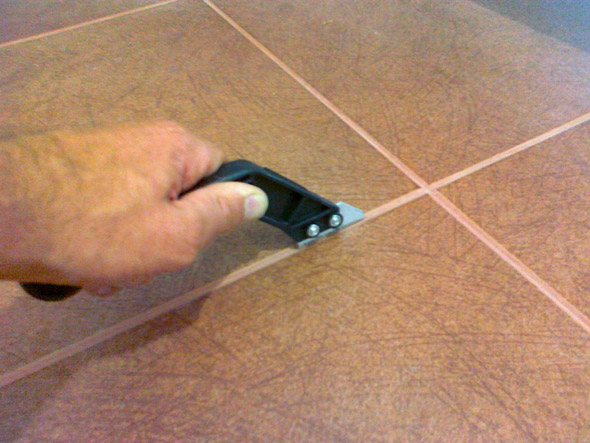
When laying a tile, the question arises with their own hands. The tile strength does not allow it to cut it simple glass cutter, as in the case of a tile, so it is necessary to use a special tiles, tilerer, a grinder and a wet tile cutting machine.
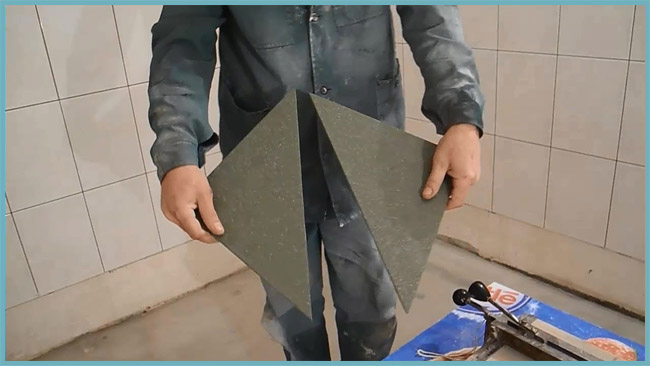
Cutting a porcelain stoneware with a slab
- Platekorez is used to cut the tiles in a straight line. More expensive variants of this tool have fixators that allow you to fix the tile at a certain angle and cut it with the maternity.
- Small hand tiles are not equipped with similar mechanisms, therefore cutting will be a bit more complicated.
- Often use a grinder with a diamond disk on a stone. However, this tool has a small drawback - heating and dust.
- The machine for wet cutting tile works without creating dust and not heating tiles, but it has a rather high price, because mostly applies only by professional builders.
- A diamond crown on a stoneware will come to the aid in cases where the round hole must be drilled in the tile.
The use of porcelain stoneware with floor cladding Many specialists consider the best way to make repairs on the century. But the process is more time consuming than laying ordinary tiles. In general, there is nothing at the laying of porcelain tiles with their own hands. Follow the rules and everything will turn out.
Laying of porcelain stoneware: video
Styling of porcelain stoneware do it yourself: photo

(2
Votes, Average: 5,00
Out of 5)


