
With the help of ceiling plinth (cartoons, baguette, molding, ceiling cornice) you can hide small surface irregularities and visually distinguish between the wall and the ceiling. For those who want to independently make installation, questions arise - how to glue the ceiling plinth, what glue to pick up, is it possible to glue it? Here we will consider in detail all the features of the cartoons and the subtleties of working with them.
To start properly glue the plinth, you need to prepare the tools and choose the installation method. It depends on the two components:
- the material from which the plinth is made;
- surfaces, but which will be installed.
Buying arsen, clarify from the seller, from which material it is made. At the moment, these types of ceiling plinths are produced:
- plastic;
- from polystyrene foam;
- from foam;
- wooden;
- gypsum;
- polyurethane.
If the pasting occurs on top of the wallpaper - give preference to lightweight materials. If the room has a complex architectural form, with bends of the walls, it is better to purchase polyurethane moldings - they are plastic and easily repeat the geometry of the walls.
We choose the installation method and glue
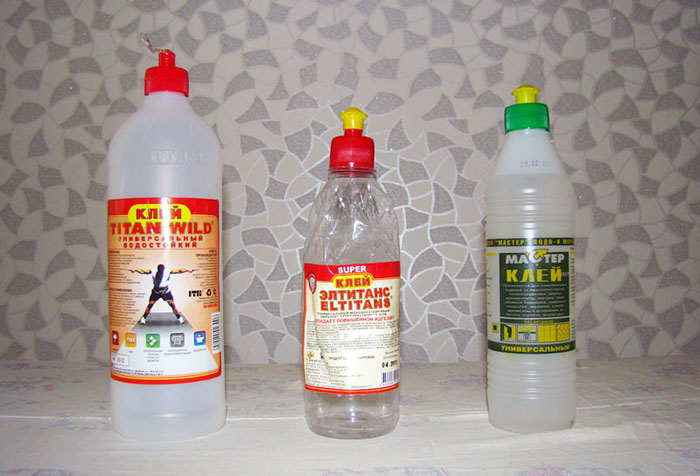
Fixation can be produced by self-reserves or using various adhesive compositions. Now for mounting baguette use the following:
- acrylic putty;
- acrylic liquid nails;
- non-phantine liquid nails;
- silicone sealant;
- liquid plastic;
- glue for polyurethane;
- the glue mixture based on PVA.
The most common now moldings from polystyrene foam and foamflast. They are light, compact and inexpensive. In view of the low weight, they are fastened with glue, without additional mechanical fixation. What to glue ceiling plinth from foamflast? It is best to do an acrylic putty, a glue mixture with PVA or silicone sealant (on the wallpaper). Liquid nails can lead to foam deformation, so they are not recommended.
Plastic moldings can be "plant" on any liquid nails if they glue on top of wallpaper, or on a putty, if the decorative wall decorative is plaster. PVC plinth can be fixed using liquid plastic.
Heavy polyurethane moldings are fixed using a special glue for polyurethane or universal glue. Small plinths can be attached to liquid nails.
Gypsum baguettes are mounted with a glue solution based on alabastra with the addition of PVA glue. Massive and heavy elements must be additionally fixed with self-drawers.
Wooden ceiling cores are most often used if the wall decor also has a tree or imitation. Installation of wooden moldings are performed on wooden bars (triangular in diameter). Small plinths of lung or very light wood breeds (pine, alder, fir, cedar) are sometimes glued to liquid nails. But in this case, when changing humidity in the room, wooden elements can "lead". Fastening to wooden bars, located every half meter, prevents from it.
Preparing tools
Having understood with the way of installation, go to the preparation of the tools.
Before you begin to glue the ceiling plinth, we prepare the following tools.
- For cutting: a construction knife for foam or polyurethane, a hacksaw for metal or a hacksaw with small teeth for gypsum, a tree hacksaw for a wooden ceiling cornice.
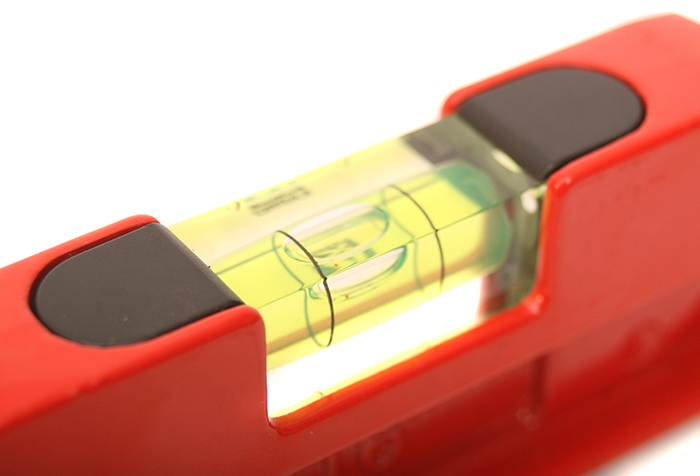
- For marking: Level, pencil, line, roulette.
- For cutting the plinth at an angle: stub.
- For mounting: Brush for glue, spatula for putty, screwdriver, drill, dowel and self-tapping screws for heavy moldings.
How to glue cornice on putty: step-by-step instruction
- Make the markup of the base of the plinth on the ceiling, using the level and pencil.
- Conduct measurements around the perimeter of the room (each side is written separately).
- Calculate how much the whole stripes go on one wall and how long the piece you need to add.
- Make the markup on the plinth and cut off pieces of the desired length.
- Eliminate the prepared elements on the floor around the perimeter of the room, and if everything came out - to start mounting.
- Mix the putty according to the instructions.
- Apply a putty thin layer on the places where the eaves will be attached.
- Apply putty (thick) on the back of the cartel.
- Mix the primer sections of putty on the ceiling and wall.
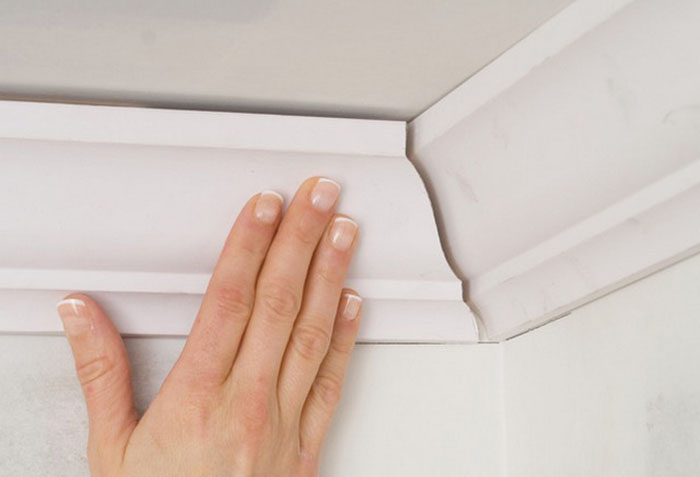
- Press the prepared plinth to the wall, and spacing sprinkled for its borders. You need to start with the angle, and the next segment to apply to the already glued.
- If the gaps were formed - fill them with putty.
- After drying the spacion solution, it is necessary to smear the same joint and slot solution.
- Plinth color can be performed after complete drying.
After wetting the primer, subsequent actions need to be performed quickly so that the surface does not dry.
![]()
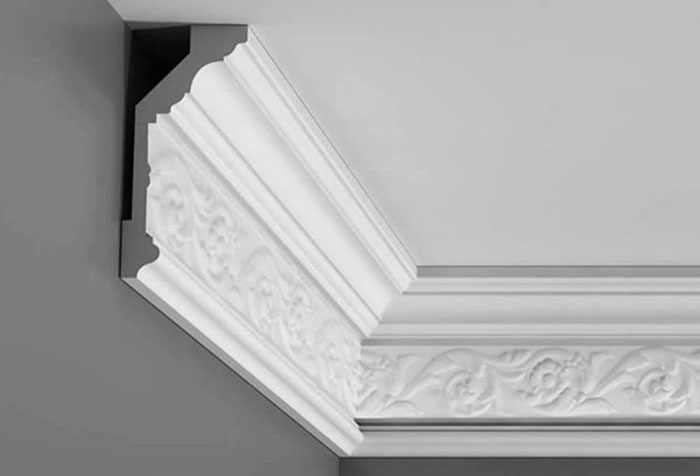
How to glue the ceiling plinth in the corners?
The easiest way to buy with a junction band. Inside corners. They are sold at 4 in a pack, so for the standard room it is convenient. If there is not only internal, but also external corners in the room, then you need to purchase external corners. Cuffs are glued in the same way as the direct bar of the eaves.
Sometimes it is impossible to choose the corners of the desired pattern, is it possible to punish molding in this case? If there is a stub, then cut off the eaves under the desired angle. For this, the karnis band is put in the stub and make a cut at an angle of 45º. It should be borne in mind that for the inner angles it goes from the inside to the front part, that is, after cutting, the irrigation part must be longer. And for external corners, on the contrary, from the front part to the wrong.
Features of sticking on wallpaper
Any cornice is preferably not glued to wallpaper. On wallpapers (over) only installation using self-tapping screws or a sticker of light plinths from foam or polystyrene is allowed. If the wall is already decorated with wallpaper webs, and polyurethane or gypsum ceiling baguettes still need to "plant" on glue or putty, then you need to cut off the wallpaper strip, a little already than the width of the plinth (regiment of the wall to the wall). Further pasting is performed in the usual way.
The light plinth of the foam can be glued on top of the wallpaper, but in this case the answer to the question, on what glue to glue the ceiling plinth will be different. It is better to use a white silicone sealant, Glue based on PVA or polyurethane glue.
Camping technology is simple.
- On the wrong side, apply glue with a solid strip.
- Press the plinth into the angle between the wall and the ceiling and hold it in this position 1 minute.
- If there are cracks or gaps - to smell them with silicone.
- Apply a sealant on the side (place of the joints of the strips) and glue the following part of the plinth.
To protect the wallpaper from hitting glue or sealant, close the strip near the plinth by painting scotch.
![]()
How to glue the ceiling plinth to the stretch ceiling?
In fact, the plinth to the stretch ceiling is not glued. Its fixation is performed only to the wall, but at the same time molding successfully closes the gap formed between the ceiling and the wall, after installing the film. In principle, the entire process of sticking plinths in this case is almost no different from fixing under normal conditions.
The differences are as follows.
- Since the plinth is attached only to the wall, and not to the wall + ceiling, then the area of \u200b\u200bcontact is much smaller. This means that glue needs to be chosen carefully, and if there is an opportunity - to secure the galler with self-draws.
- If it is not possible to fix the elements mechanically, you need to increase the clutch with the wall, it is better to choose a plinth with a wide vertical side.
- In order to accidentally damage the stretch ceiling, it is necessary to close it before work. It sticks well to the ceiling film, and after work it can be easily pulled out from under the cornice.
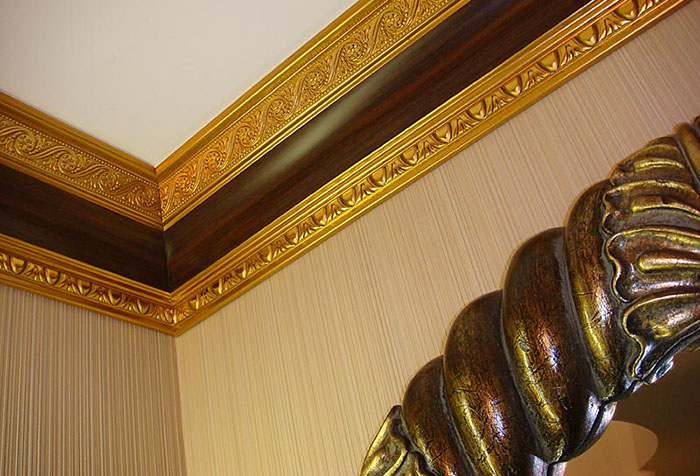
Fastening wooden ceiling plinths
The feature of the installation of such baguettes is a preliminary mounting of mounting corners (bars). This is "rough" parts with a triangular cross section.
Step-by-step installation of wooden ceiling plinths looks like this.
- Calculate the required amount of draft corners. When counting, consider that they should be located every half meter.
- Fix them in the corner between the ceiling and the wall.
- Place the lower bay of baguette throughout the perimeter of the room.
- Calculate the amount of integers and cuts.
- Place and cut off pieces of plinth.
- Perform angular sections with a stouch and process edges with a file.
- Screw the baguette with screws to the bars or navigate the nails, carefully configuring the adjacent elements.
For mounting it is better to use screws. In this case, if necessary, you can perform adjustment without loss of appearance.
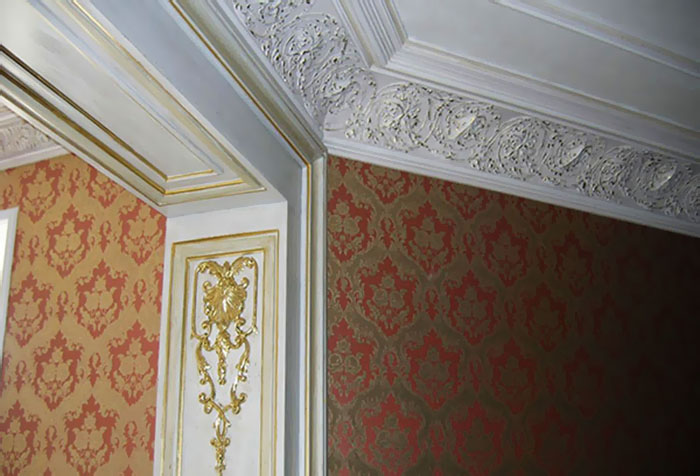
Wide plinths with a complex pattern are suitable in high premises if the ceiling is located low, it is better to prefer concrete variants - narrow and not overloaded parts.
If the ceiling is high, you can stick the baguette to the wall below the ceiling of centimeters to 20. In this case, the backlight can be mounted above it.
Buying plinth, immediately ask about the possibility of buying additional elements - external and internal angles. Their acquisition will greatly facilitate the installation of moldings.


