The melamine edge, despite the fact that it was invented enough for a long time, it is still quite widely used in the manufacture of modern cabinet furniture. The same today appeared and gained widespread its competitors (PVC and ABS edges), which, however, do not affect the popularity of the melamine edge.
Among its main advantages, you can select such qualities as low cost and simplicity of stickers and processing (no complicated equipment is required, everything you need in any modern house - but we will talk about it later). The main lack of such an edge material is low mechanical strength (where PVC is only a little bit, melamine will have interference).
In general, this type of edging materials firmly settled in small workshops and do not intend to leave them.
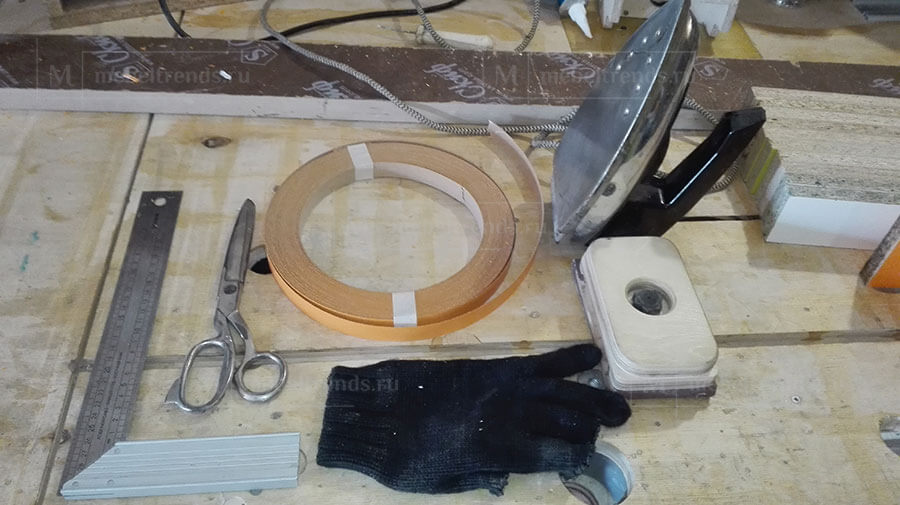
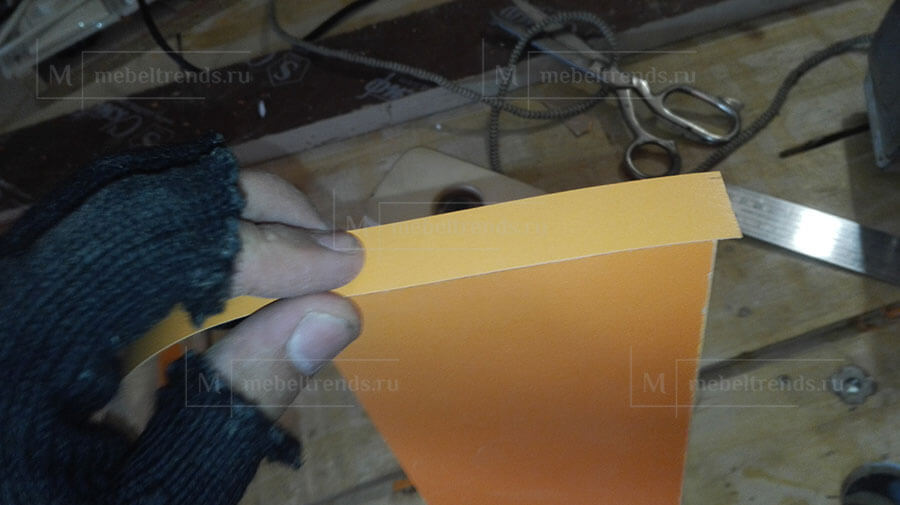
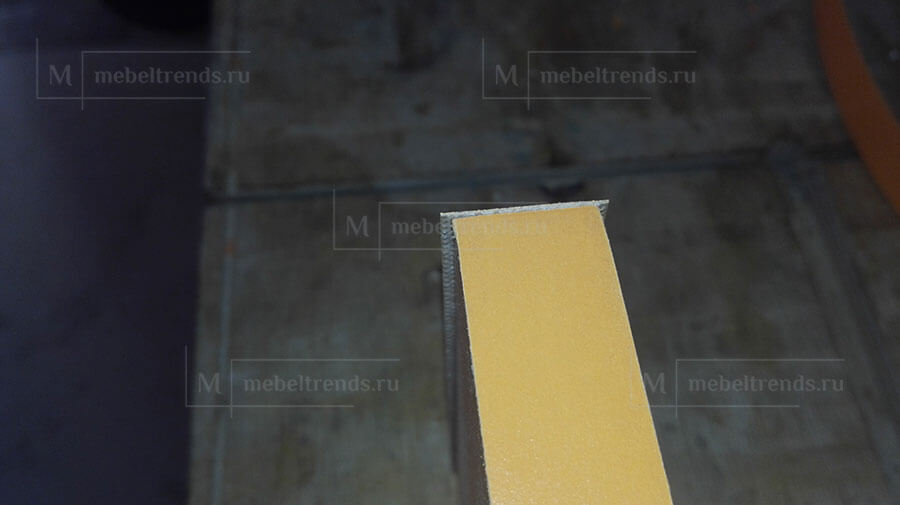
We will analyze the process of incoming the melamine edge in detail. The edge itself is sold with a thermoclaim applied to its inner edge (in the photo visible as a small mesh).
To work, we need iron, scissors, metal ruler, lump with shallow sandpaper and glove. The glove is enough to pull on the left hand (there will be a tool in the right).
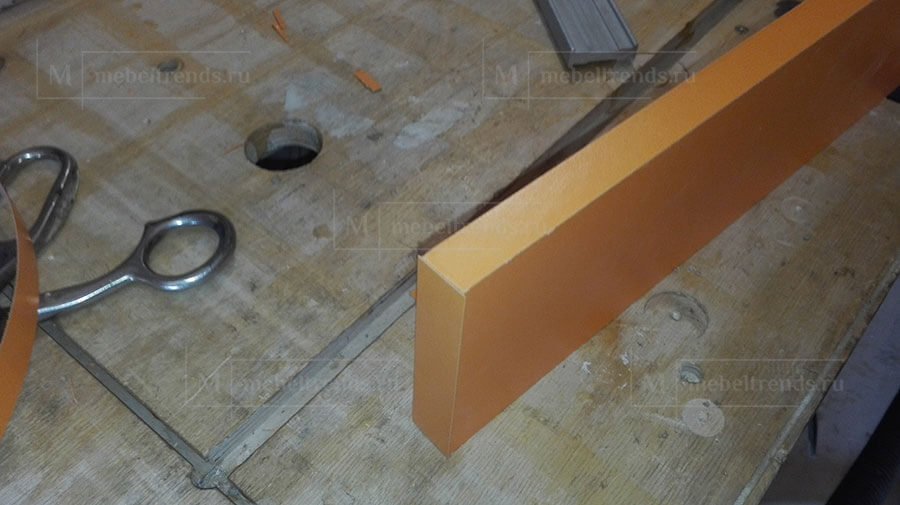
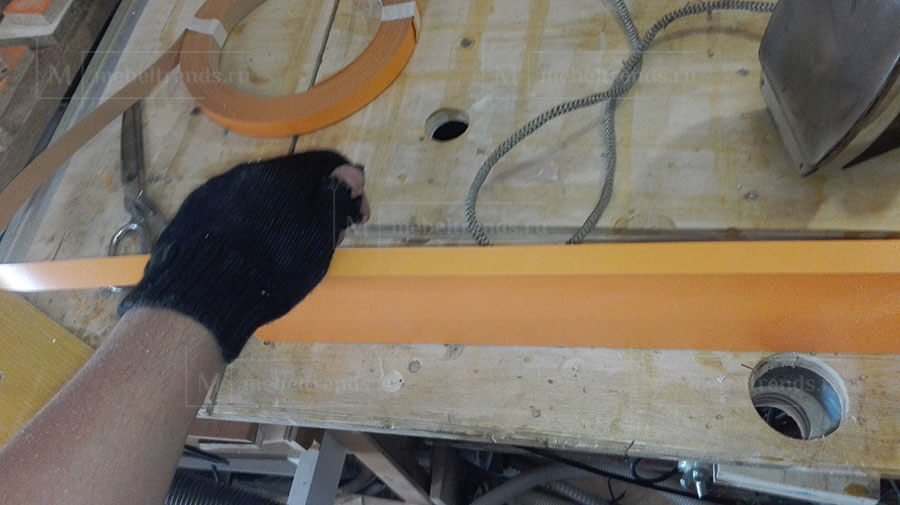
We put the item on the end (you can fix it in a vice or other fit, so that it does not fall). We put the edge on it, making a small ot from the end.
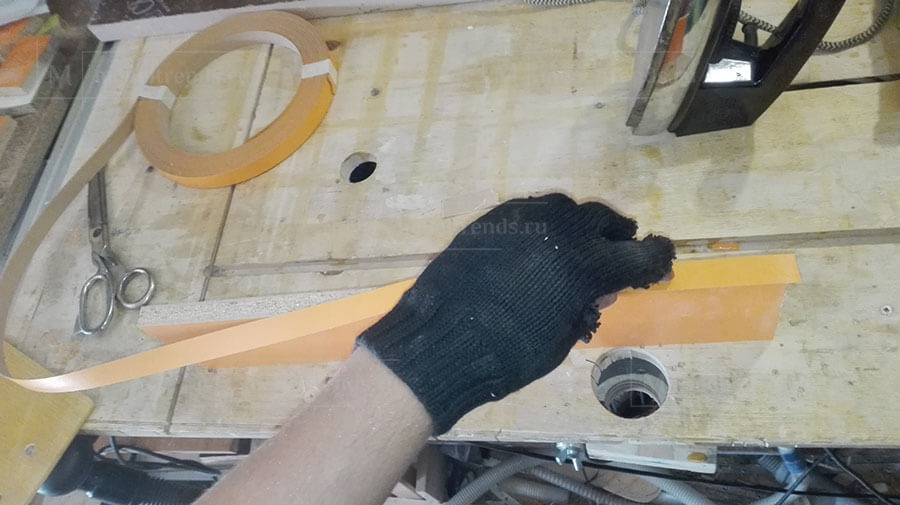
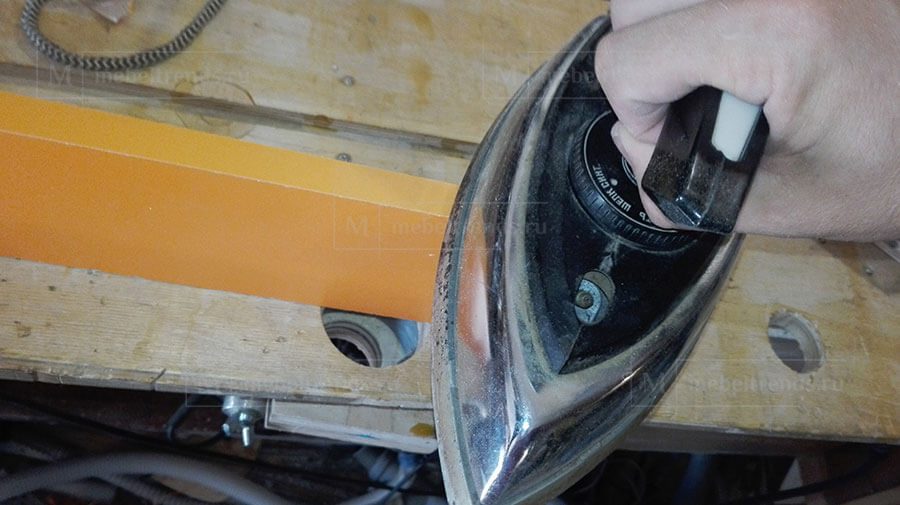
We stroke the heated to medium values \u200b\u200b(with overheating glue boils and the edge goes with bubbles, after which it can be broken and throwing out) with an iron edge first towards the left hand.
Unfortunately, both hands do not fall into the frame, as it does not work with them and the camera at the same time.
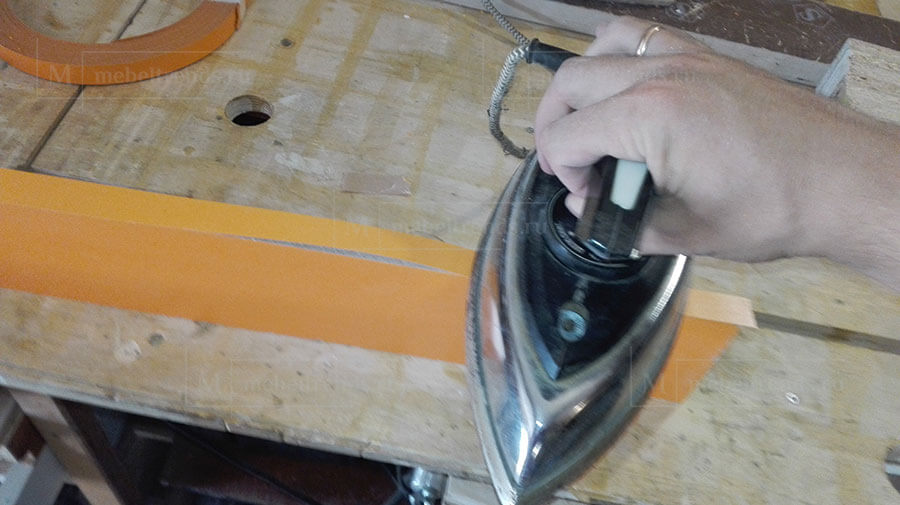
At the same time, the iron is preferably kept perpendicular to the details of the spout to yourself (the fact is that the Soviet models have a small concave on the sole, which does not allow tightly pressing the edge to the surface, and the rear-way so that the wire does not interfere with the work). Maybe you will find a more comfortable position of the iron, but I do this way. The first movement of the iron goes to the left hand, while it lines the position of the edge. In this case, the tape primarily sticks to the surface. Then we lead the iron in the opposite direction, rolling my palm left after him.
We remove the iron and continue to press the edge to cool the glue (4-6 movements with hand).
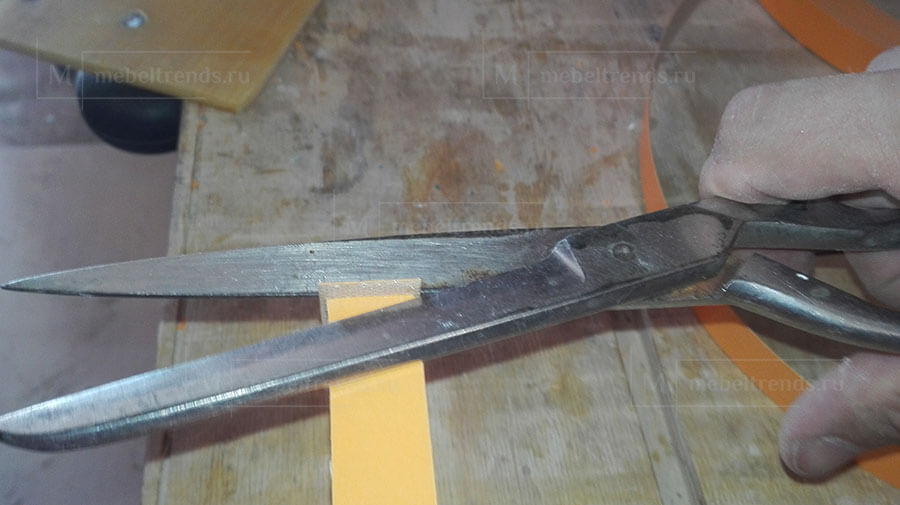
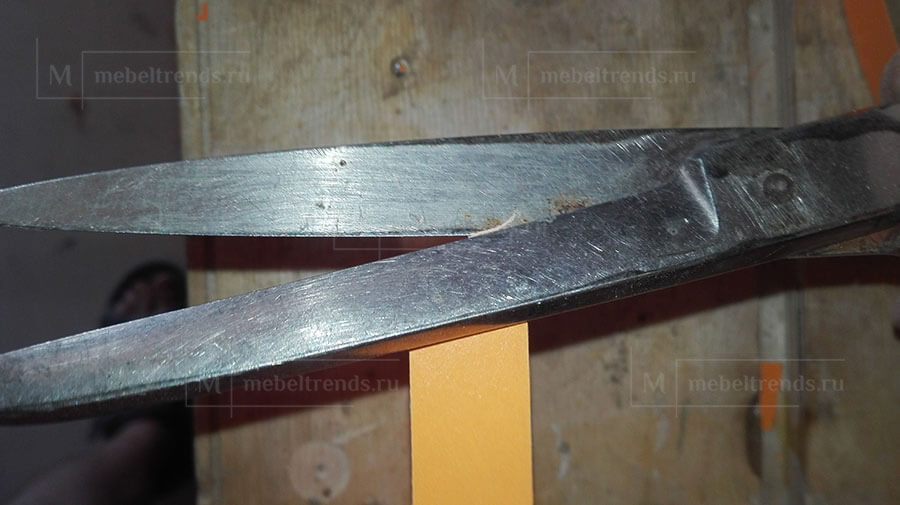
Scissors cut off the tape "To the Edge" from the main tape.
Immediately turn over the workpiece and cut off the edge from the reverse side.
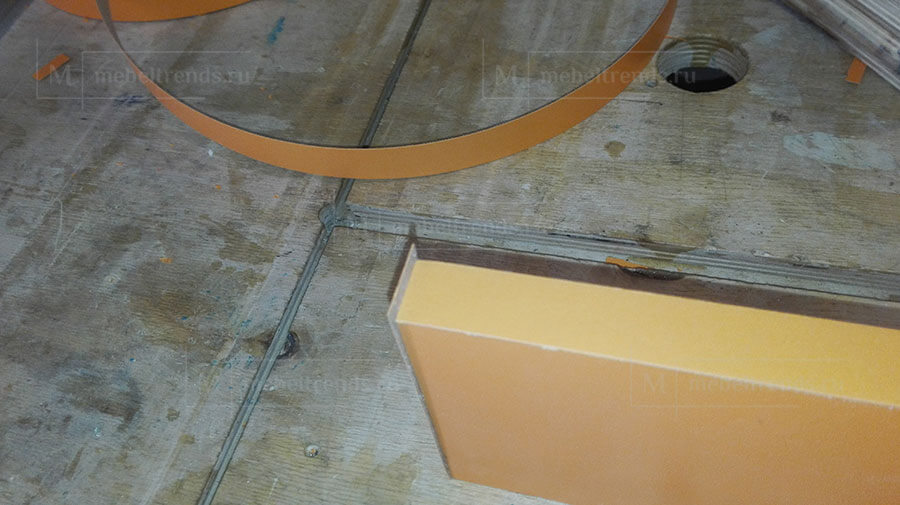
So the sinks from the end of the workpiece are removed. And it turns out this flush with its end. For this, manufacturers are offered special end cutters, but as can be seen from the photo, scissors are not worse.
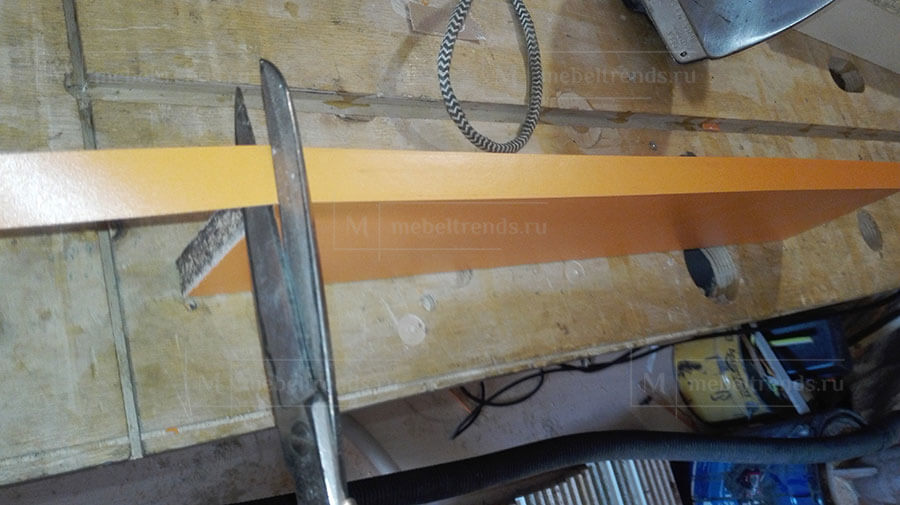
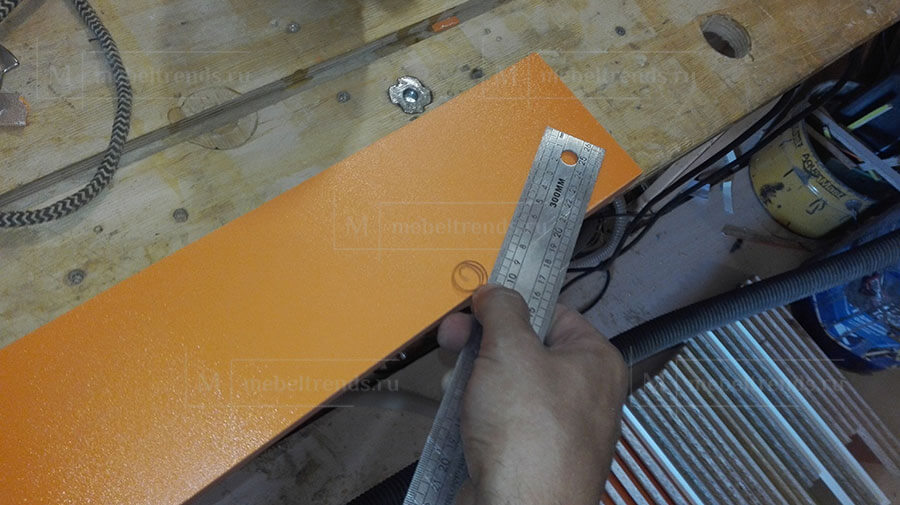
Now we move to the removal of overhangs with long faces. For this, the workpiece is placed on the ramp so that the edge hung from the workbench (so we do not risk breaking the soles).
A simple metal ruler or a square is taken in the hands (many use knives, pieces from Rubankov and other exotic, but I prefer it to a line, because sharply sharpened ironers at the slightest change in the corner of the cut to strive or move up or, worse, crash into the detail material, damaging laminate. The line can not do it).
The square is stacked on the blank at a sharp angle to the edge (as in the photo) and one movement of the excess ribbon are cut. At the same time, it should not be bending - the ruler should be tightly fit to the surface of the workpiece. Together with the sink edge, the surplus of glue is so cut, which often protrude from the junction site.
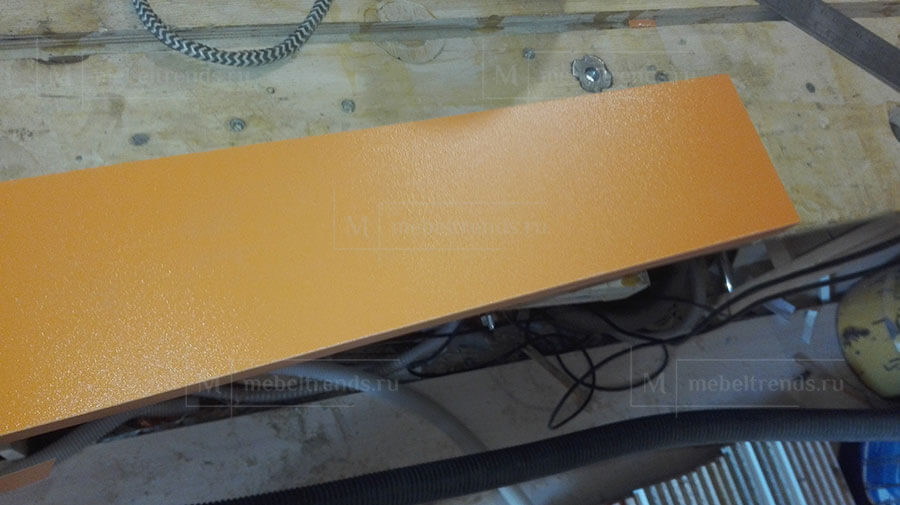
In principle, the edge is already quite smooth. But to achieve a better effect it should be submitted.
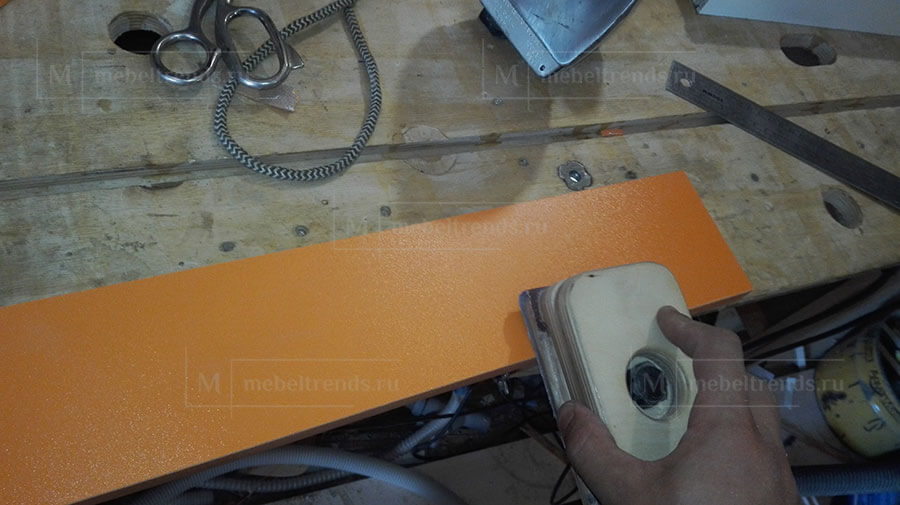
For this, we take into the hands of the grinding lump with small grain (P180, for example) and make one or two (no more) movement, at an angle of 45 degrees to the workpiece, aligning the edge and removes possible burrs.
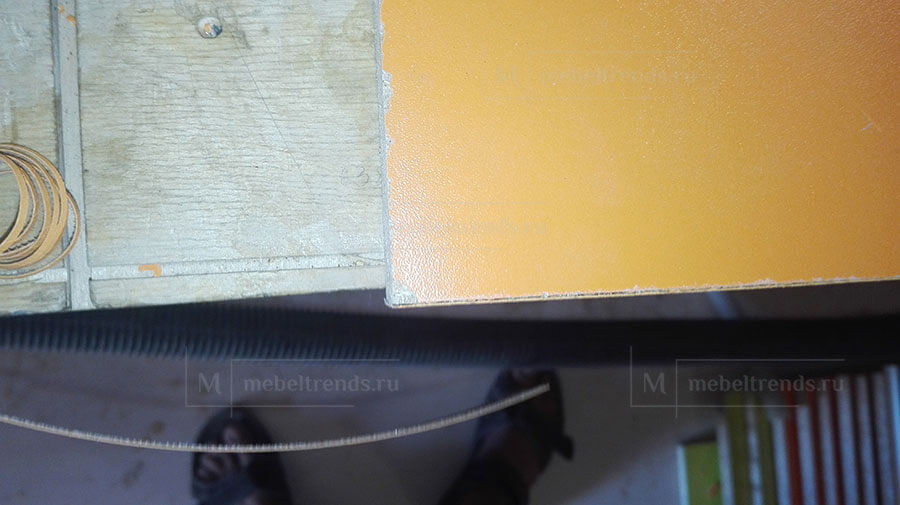
Sometimes there is a phenomenon like non-flocks. It becomes clearly visible just after removing the sink.
We take the iron again and warmed the defective place, at the same time pressing the edge.
Then again palm strongly press the edge ribbon to the workpiece. As a rule, this happens enough.

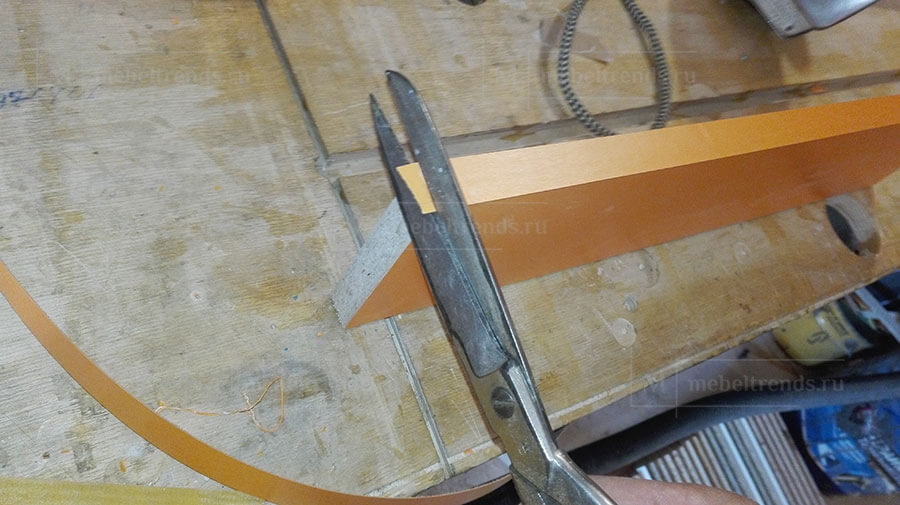
Now the shake of the edge joint in the corners. The edge (it is desirable to immediately cut off with a small allowance - it is more convenient to work with short sections) is applied to the workpiece.
Pressed the iron and also rolls his palm. As a result, it turns out this junction that needs to be modified.
Scissors, putting the top branch to the edge of the workpiece strictly in parallel, cut off the surplus.
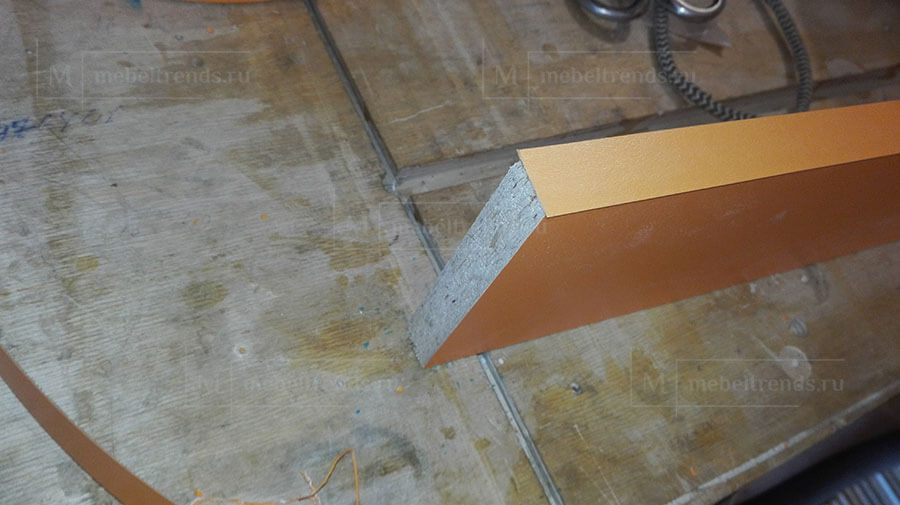
There is a small (no more than 0.5 mm) residue.
It is cut by toning the scissors at an angle of about 30 degrees.
As a result, it turns out such a joint. From the end it also remains to cut the excess ribbon by the ruler according to the described method.