Last modified on April 5th, 2018 by Vincy.
User login and registration is a basic requirement for any CMS applications. This is the initial work while starting a project. Application with user login authentication provides security by preventing anonymous access. There are various ways to enable authentication in our application like by enabling OAuth login or by implementing Single Sign-on (SSO) and similar other ways. In a previous tutorial, we have seen how to implement and also about .
This example includes both login and the registration functionalities. I have used MySQL database to store the registered members. The user registration will contain input to get the details from the user. On submitting this form, the form data are posted to PHP and stored in the database. User password will be encrypted before storing into the database. before posting to the PHP code. When the user logged in with the valid credentials, then the user and he will be allowed to proceed further.
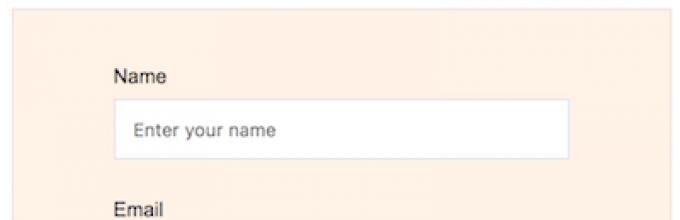
User Registration FormThis code is to show the signup form to the user. When the user submits the form with his details, the JavaScript function will be called to validate user input. After successful validation, the PHP code will read the posted form data to execute database insert.
In this tutorial, I walk you through the complete process of creating a user registration system where users can create an account by providing username, email and password, login and logout using PHP and MySQL. I will also show you how you can make some pages accessible only to logged in users. Any other user not logged in will not be able to access the page.
If you prefer a video, you can watch it on my YouTube channel
The first thing we"ll need to do is set up our database.
Create a database called registration . In the registration database, add a table called users . The users table will take the following four fields.
- username - varchar(100)
- email - varchar(100)
- password - varchar(100)
You can create this using a MySQL client like PHPMyAdmin.
Or you can create it on the MySQL prompt using the following SQL script:
CREATE TABLE `users` (`id` int(11) NOT NULL AUTO_INCREMENT PRIMARY KEY, `username` varchar(100) NOT NULL, `email` varchar(100) NOT NULL, `password` varchar(100) NOT NULL) ENGINE=InnoDB DEFAULT CHARSET=latin1;
And that"s it with the database.
Now create a folder called registration in a directory accessible to our server. i.e create the folder inside htdocs (if you are using XAMPP server) or inside www (if you are using wampp server).
Inside the folder registration, create the following files:

Open these files up in a text editor of your choice. Mine is Sublime Text 3.
Registering a userOpen the register.php file and paste the following code in it:
regiser.php:
Register Username
Этот файл отвечает за подключение к базе данных и будет выводиться на всех страницах. Рассмотрим строки кода более подробно
session_start();
Эта функция начинает сессию для нового пользователя, далее в ней мы будем хранить данные о ходе сессии, чтобы мы могли узнавать пользователей которые уже прошли идентификацию
mysql_connect($dbhost, $dbuser, $dbpass) or die("MySQL Error: " . mysql_error());
mysql_select_db($dbname) or die("MySQL Error: " . mysql_error());
Каждая из этих функций выполняет отдельные, но связанные задачи.
Функция mysql_connect выполняет соединение с сервером баз данных MySQL в качестве параметров в скобках указаны переменные которым присвоены соответствующие значения Хост, Имя пользователя, Пароль если данные не верные выдаст сообщение об ошибке
Функция mysql_select_db выбирает базу данных имя которой мы присвоили переменной $dbname , в случае если не удаётся найти базу выводит сообщение об ошибке
Шаг-2 Создаем файл index.php
Немало важным элементом на нашей странице – является первая строка PHP; эта строка будет включать файл, который мы создали выше (base.php ), и по существу позволим нам обращаться к чему-нибудь от того файла в нашем текущем файле. Мы сделаем это со следующей строкой кода PHP. Создайте файл, названный index.php, и поместите этот код наверху.
Создайте новый файл index.php и вставите в самое начало следующий код
Эта строка будет подключать фаил который мы создали выше (base.php), что позволит нам обращаться к коду того файла в нашем текущем файле.
Это осуществляет функция include()
Теперь мы займёмся созданием внешнего интерфейса, где пользователь будет вводить свои данные для регистрации, а если он уже зарегистрирован дать возможность изменения данных. Так как этот урок нацелен на PHP мы не будем разбираться с кодом HTML/CSS внешний вид сделаем потом когда мы создадим нашу таблицу стилей CSS, а пока просто вставим этот код после предыдущей строки.
Система управления пользователями Сюда вставим php код
Теперь прежде чем пристать php программу разберём принцип её работы, что в той или иной ситуации надо выводит на экран:
Выглядеть это будет так: